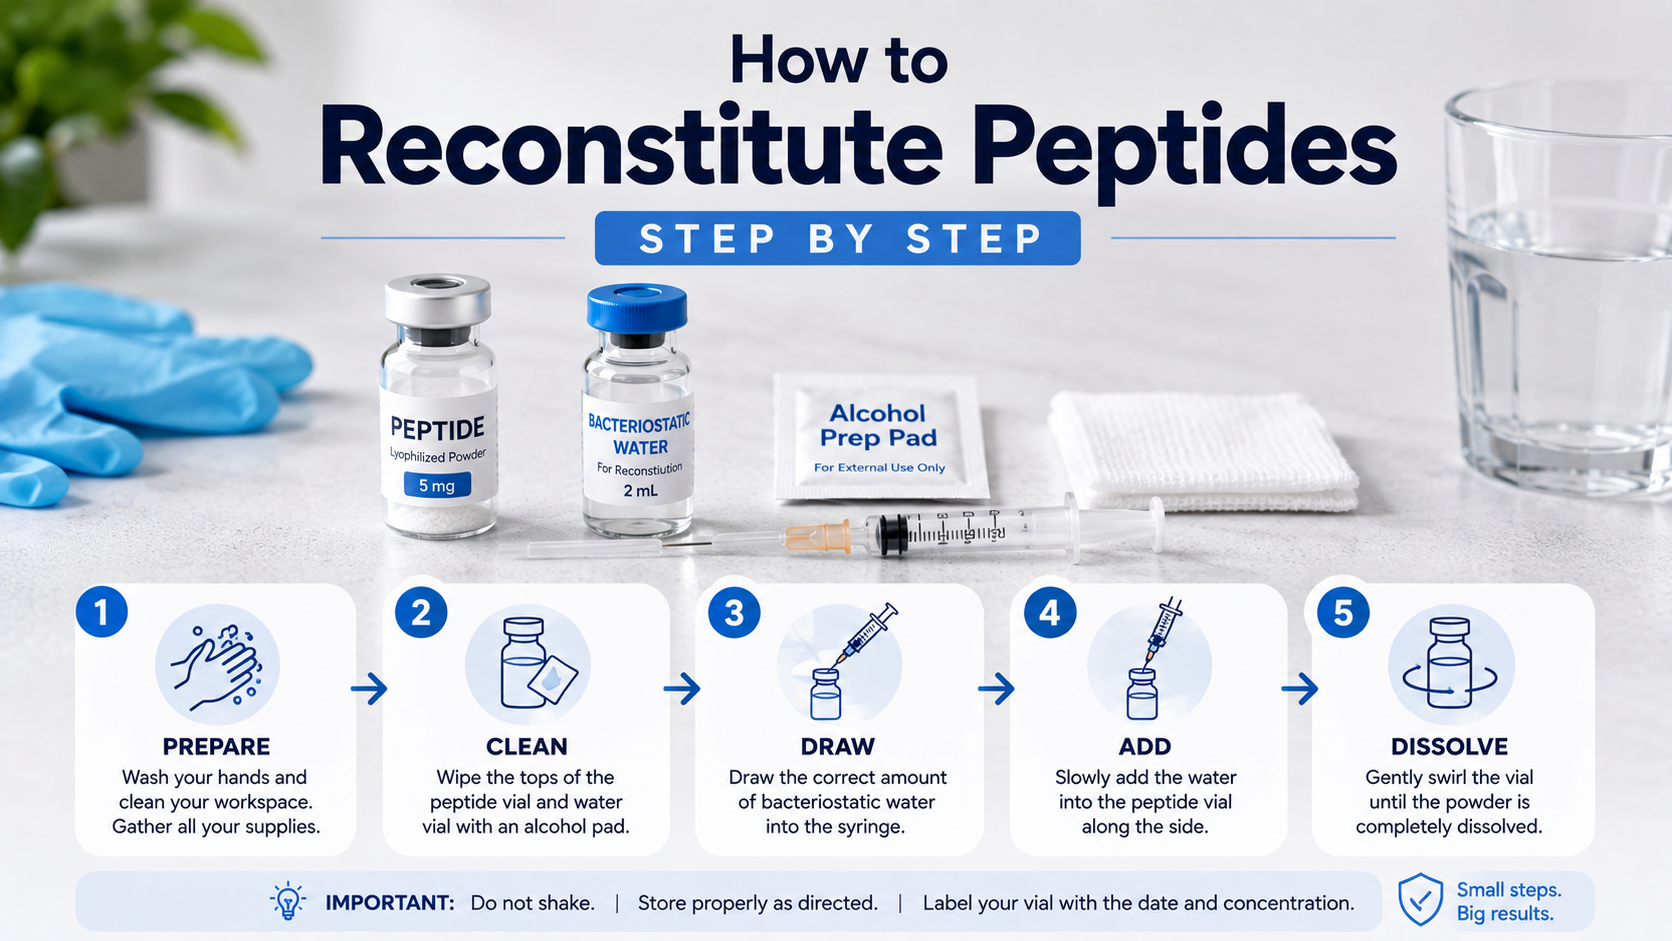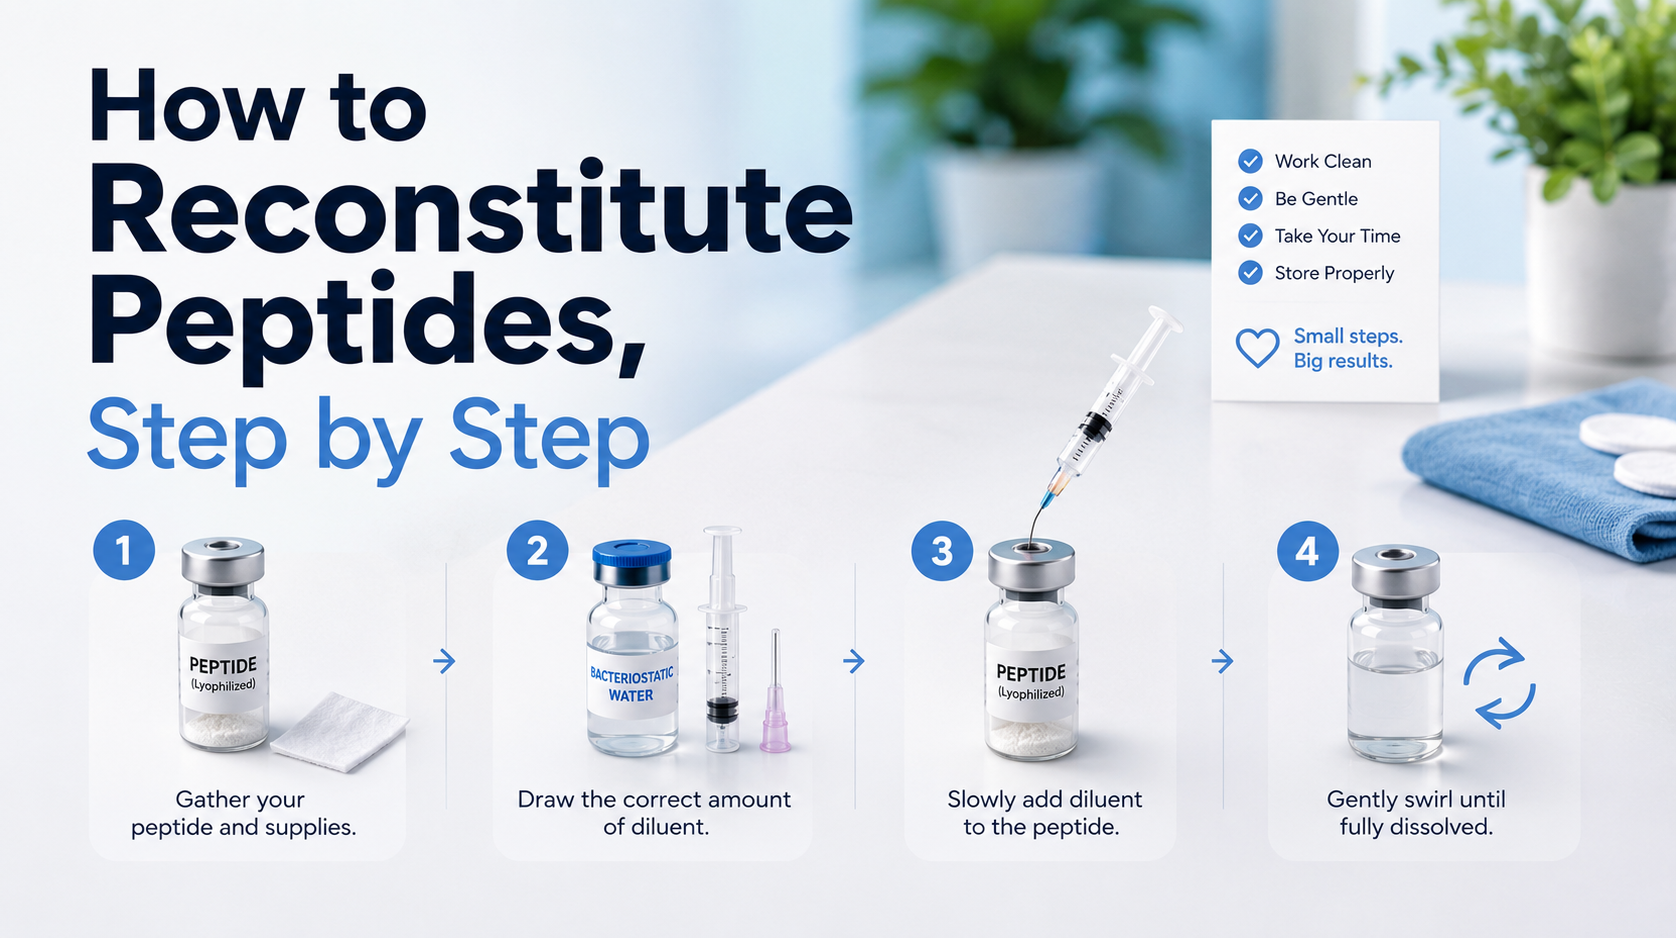
Mixing a peptide the wrong way is one of the easiest mistakes to make in a lab — not because it’s hard, but because small slip-ups add up fast. This guide walks through the basic process used for most freeze-dried research peptides, like BPC-157, TB-500, ipamorelin, and GHK-Cu. We’ll cover what you need before you start, how bacteriostatic water ratios work, the actual steps, how to store a mixed vial, and the mistakes people make most often.
What You Need on the Bench
Before you mix anything, it helps to have everything laid out and within reach:
- The peptide vial itself. Still sealed, and checked against its certificate of analysis (a document that confirms what’s actually inside).
- Bacteriostatic water. This is the standard sterile liquid used to mix peptides. It has a tiny bit of alcohol in it to help keep it clean for repeated use.
- A syringe. Pick one sized for how much water you’re adding — usually 1 mL or 3 mL. Here it’s just a tool for measuring and moving liquid, not for injecting anyone.
- Alcohol swabs, for wiping the rubber top of both vials before you use them.
- A clean, clear work surface.
- Gloves and a sharps container, so used needles get thrown away safely.
- A marker and labels, so you can write down the date and strength right after mixing.
- A fridge or freezer, ready to go, since a mixed vial needs to go into cold storage right away.
Bacteriostatic Water Ratios
Here’s the one idea to hold onto: strength = how much peptide ÷ how much water.
Strength (mg per mL) = peptide in the vial (mg) ÷ water added (mL)
The same vial can end up at very different strengths depending on how much water goes in. There’s no single “right” amount — it depends on what a study needs. For example, with a 5 mg vial:
- Add 1 mL of water → 5 mg per mL
- Add 2 mL of water → 2.5 mg per mL
- Add 3 mL of water → about 1.67 mg per mL
- Add 5 mL of water → 1 mg per mL
If a study needs to measure out very small amounts, using more water (a weaker mix) usually makes that easier — it’s simpler to draw an accurate amount from a weaker solution than to try to measure a tiny sliver of a strong one.
One thing people forget: bacteriostatic water goes bad too. Once it’s opened, it’s usually good for about 28 days. After that, don’t assume it’s still clean.
The Reconstitution Steps
- Get everything ready first. Having it all laid out before you start means fewer rushed mistakes.
- Wipe both vial tops. Clean the rubber top of the peptide vial and the water vial with a fresh alcohol swab.
- Work out your ratio. Decide what strength you want and how much water that means, using the math above.
- Draw up the water. Pull the right amount into your syringe, and tap out any air bubbles.
- Add it slowly. Let the water run down the inside wall of the vial instead of squirting it straight onto the powder — this keeps it from foaming up.
- Swirl gently — don’t shake. Shaking can damage the peptide.
- Check how it looks. It should look clear (or, for something like GHK-Cu, a light, even blue from the copper). If it looks cloudy or has bits floating in it, don’t use it.
- Label it right away. Write the date, the strength, and what you mixed it with.
- Put it away immediately — see the storage tips below.
Storing a Reconstituted Vial
Once mixed, a peptide doesn’t last nearly as long as it did freeze-dried. A few simple rules apply almost everywhere:
- Put it in the fridge, not the freezer, unless a specific study tells you otherwise.
- Keep it out of the light. Many peptides break down faster when exposed to light — that’s why some vials are tinted, or you can just keep it in a dark spot.
- Use it within a set window. How long a mixed vial stays good depends on the peptide, the strength, and what it’s mixed with — there’s no single number that works for everything, so treat any timeframe you read as a starting point, not a rule.
- Don’t freeze and thaw it over and over. Each time you do, it loses a little more quality. If you need multiple uses, split it into smaller portions right after mixing instead.
- Check for anything peptide-specific. Some peptides have their own quirks — copper-based ones like GHK-Cu don’t like light or air as much — so check a dedicated guide for that peptide if one exists.
Common Mistakes
- Using the wrong liquid. Tap water, saline, or plain sterile water aren’t the same as bacteriostatic water, and can affect how clean or stable the mix is.
- Getting the math wrong. A simple mistake in the ratio throws everything else off — it’s worth double-checking before you draw anything up.
- Shaking instead of swirling. Shaking is one of the easiest ways to damage a peptide while mixing it.
- Squirting the water straight onto the powder. This makes it foam up and puts stress on the peptide before it’s even dissolved.
- Skipping the certificate of analysis. Check what’s actually in a batch before you mix it — not after something looks off.
- Reusing needles or skipping the alcohol swabs. Clean technique matters every single time, not just the first time.
- Not labeling the vial right away. It’s easy to lose track of strength and date once you’ve got more than one vial going.
- Assuming every peptide is the same. The basics apply broadly, but some peptides have their own quirks worth knowing about.
Research Use Disclaimer
This guide is about general mixing technique for lab and preclinical research only. It’s not medical advice, a treatment plan, or instructions for preparing anything for use in a person or animal outside of a real research study. The peptides mentioned here aren’t approved by the FDA or any other health authority for use in people or animals, and none of them are drugs, foods, supplements, or cosmetics in their research form.
Research peptides should always come from a supplier that can show you a certificate of analysis for the specific batch. Using any research peptide outside of a real research setting isn’t something we support or recommend.